
Do you need a listing agent checklist? With the dozens of tasks to be completed between meeting your prospective sellers to closing escrow, you can easily miss a detail or two. A checklist helps you avoid an embarrassing oversight and helps you maintain your reputation as an organized professional.
To help you keep track of all your listing agent tasks, we have the Ultimate Listing Agent Checklist for you today!
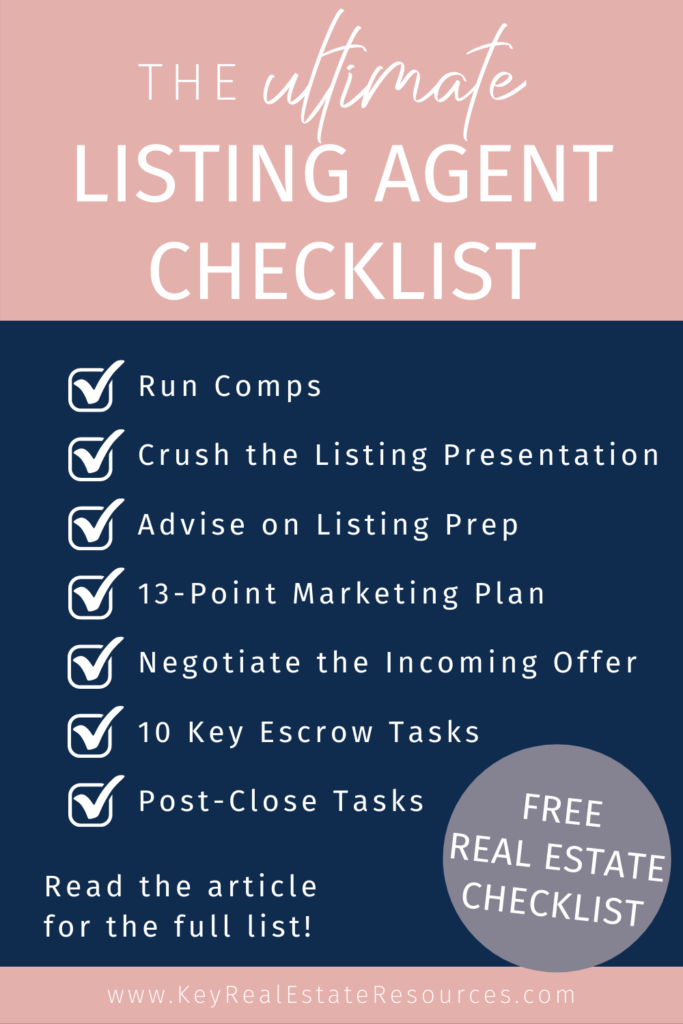
We’re dividing our listing agent checklist into six phases:
- Landing the listing
- Prepping for showings
- Marketing the listing
- Accepting an offer
- Contract-to-Close
- Post-Close
By the way, if you’d like a one-page version of this listing agent checklist that you can use for your transactions, simply enter your contact info in the box below, and we’ll email you a link to our handy one-pager.
Landing the Listing
Let’s start the listing agent checklist with four steps to help you land the listing.
🗹 Get familiar with the home and the neighborhood.
Familiarize yourself with the details and history of the property (as much as you can find online and in local records). And make sure you know the ins and outs of the neighborhood.
🗹 Run comps.
Complete your CMA before meeting with the sellers so you’ll be able to explain to the sellers how much their property is worth according to current market conditions.
🗹 Give a Killer Listing Presentation.
Your listing presentation is the key to earning the listing. You need to show the seller why they should trust you to represent them in the sale of their home. Make sure your listing presentation is polished and professional. Focus on your marketing strategy for their property.
🗹 Get your clients to sign the Listing Agreement.
Once your sellers sign the listing agreement, you’ll be ready to move onto Phase Two: Prepping the Home for Showings.
Prepping for Showings
These items should be completed right away so you can begin marketing the home as quickly as possible.
🗹 Schedule the photographer.
Professional listing photos are a must in most markets. If you work in a lower-value market where professional listing photos aren’t the norm, consider investing in them anyway. Not only will they help this listing sell faster, but they’ll also give your business a branding boost. Local homeowners will notice that your listing photos are of higher quality than other agents.
🗹 Confirm all property details and have your sellers sign the required disclosures.
Make sure you have the property details right before entering the listing on the MLS. And get your sellers started on the disclosures.
🗹 Advise the sellers on cleaning and staging.
Give the sellers a to-do list to help guide their cleaning and staging before the showings begin.
🗹 Confirm showing instructions.
Don’t forget to clarify showing instructions with the seller. They may have specific requests for showings (like not showing after a certain time of day or requesting that buyers take off their shoes).
🗹 Install the lockbox and get any required security codes.
Don’t forget to ask the seller about codes for any security system in place. Then you’re ready to install the lockbox.
🗹 Add a recurring reminder for weekly status updates.
To help you communicate consistently with the sellers, set a recurring reminder to check in with a status report for them on a weekly basis.
Marketing the Listing
Now you’re ready to market your new listing.
🗹 Post the For Sale sign.
Put up your sign or arrange for your sign company to put it up for you.
🗹 Add your listing to the MLS.
Entering the data for your listing in the MLS is a great job for your virtual assistant.
🗹 Schedule the open house.
Start planning early for the open house.
🗹 Schedule the broker caravan.
Don’t forget to invite local brokers and buyer’s agents to tour the home.
🗹 Create a video tour.
Video tours can be done by professional “virtual tour” companies. Or you can take a video of yourself walking through the home. Informal video tours are fine; you can even shoot them on your smartphone and share them on social media platforms instantly.
🗹 Schedule print advertising if applicable.
If print advertising is effective in your market, schedule your print ads early.
🗹 Share on social media.
Share the details of your new listing across your social media platforms. Instead of just sharing a listing pic on Instagram, use a detailed “Just Listed” Instagram template. You can get a 4-pack of templates on Etsy for around $5.
If you’re sharing to nationwide real estate groups on Facebook, make sure you include the city and state early in the description.
🗹 Create social media ads.
With the targeting capabilities of Facebook ads, you can get a good ROI on your social media ad budget.
🗹 Create and distribute a listing flyer.
Listing flyers are easy to make in Canva. You can distribute digitally via email for free marketing. Or you can print and distribute to the neighboring homes for low-cost marketing.
🗹 Notify active buyers of the listing.
Make sure you tell your buyers about your new listing! Text or call your buyers for the best response rate.
🗹 Create and mail New Listing postcards.
Postcards are a cost-effective way to notify your geo farm of your new listing.
🗹 Publish a blog post on your website.
Blogging remains one of the most under-utilized marketing methods available to real estate agents. If you’re taking advantage of the benefits of blogging for leads, dedicate a blog post to your new listing.
🗹 Host the open house.
Bring your A-Game on Open House Day! Open houses may not result in the sale of this listing, but they provide an exceptional opportunity to market yourself as a listing agent.
Listing Agent Checklist for Accepting an Offer
All that marketing effort in the previous phase will set you up nicely for the quick and easy “accepting the offer” phase.
🗹 Present the Offer(s) to your sellers.
Give your sellers the details of every offer received so they can make an informed decision.
🗹 Counteroffer as appropriate.
If the original offer isn’t quite acceptable, draft a counteroffer with the sellers’ input and negotiate until you’re happy with the terms you’ve negotiated for your seller.
Listing Agent Checklist: Contract-to-Close
Once you’re under contract, the tasks come hard and fast! Here’s your contract-to-close listing agent checklist.
🗹 Open escrow.
Submit the signed contract to the escrow company and get the process started.
🗹 Schedule all contingency deadlines.
Add all contingency deadlines to your scheduling app of choice so you don’t miss any dates.
🗹 Provide sellers with professionals’ contact info.
Make sure your sellers know who will be assisting with the escrow process and how to reach them:
- Transaction Coordinators (and assistants)
- Escrow Officers (and assistants)
- Title Reps (and assistants)
🗹 Monitor the status of the title insurance, appraisal, and inspection.
Stay in touch with the buyer’s agent, title reps, and escrow officers to make sure everything goes smoothly with the title insurance, appraisal, and inspection.
🗹 Have sellers sign all required docs.
Stay on top of the sellers to make sure all required docs are signed timely.
🗹 Provide a moving checklist to the sellers.
Give your sellers a moving checklist to help make the relocation a little easier for them.
🗹 Have the sellers review the settlement statement.
You want to give your sellers a few days to review the settlement statement and ask any questions before they have to sign the closing docs.
🗹 Collect the keys from the sellers.
You know you’re close to closing when it’s time to collect the keys.
🗹 Attend the closing if necessary.
Depending on your state, you may or may not need to attend a formal closing.
🗹 Collect your commission.
And celebrate another successful close!
Post-Close Checklist
Of course your work as a listing agent isn’t done just because the deal is closed. Here are four final tasks on your listing agent checklist to make sure your clients are well cared for after the sale. This is where you build your repeat and referral business!
🗹 Give a thoughtful closing gift.
While some agents are trying to get away from closing gifts, they’re actually missing a golden opportunity to leave a lasting impression on their clients. Check out our list of affordable, but impressive, closing gifts.
🗹 Ask for an online review.
Online reviews are everything! Ask your clients to take a few minutes to leave a review on Google, Zillow®, Facebook, or wherever your prospects are most likely to find you online. Ask if you can use their review in your marketing materials. This will allow you to publish the testimonials on your website, social media accounts, and brochures.
🗹 Ask for referrals.
Now is also the time to ask for referrals, while the deal is still fresh in your seller’s mind. Call or text your request to increase response rates.
🗹 Add to your ongoing client base marketing campaigns.
If your sellers move out of the area, you might not have another opportunity to serve them, but it’s wise to stay in touch. They might just refer a local buyer or seller to you in the future!